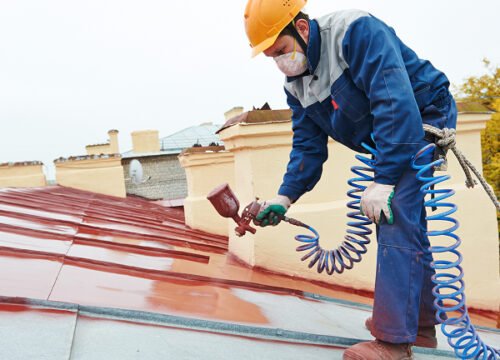
Roof Waterproofing Guide: Build a Monsoon-Proof Home
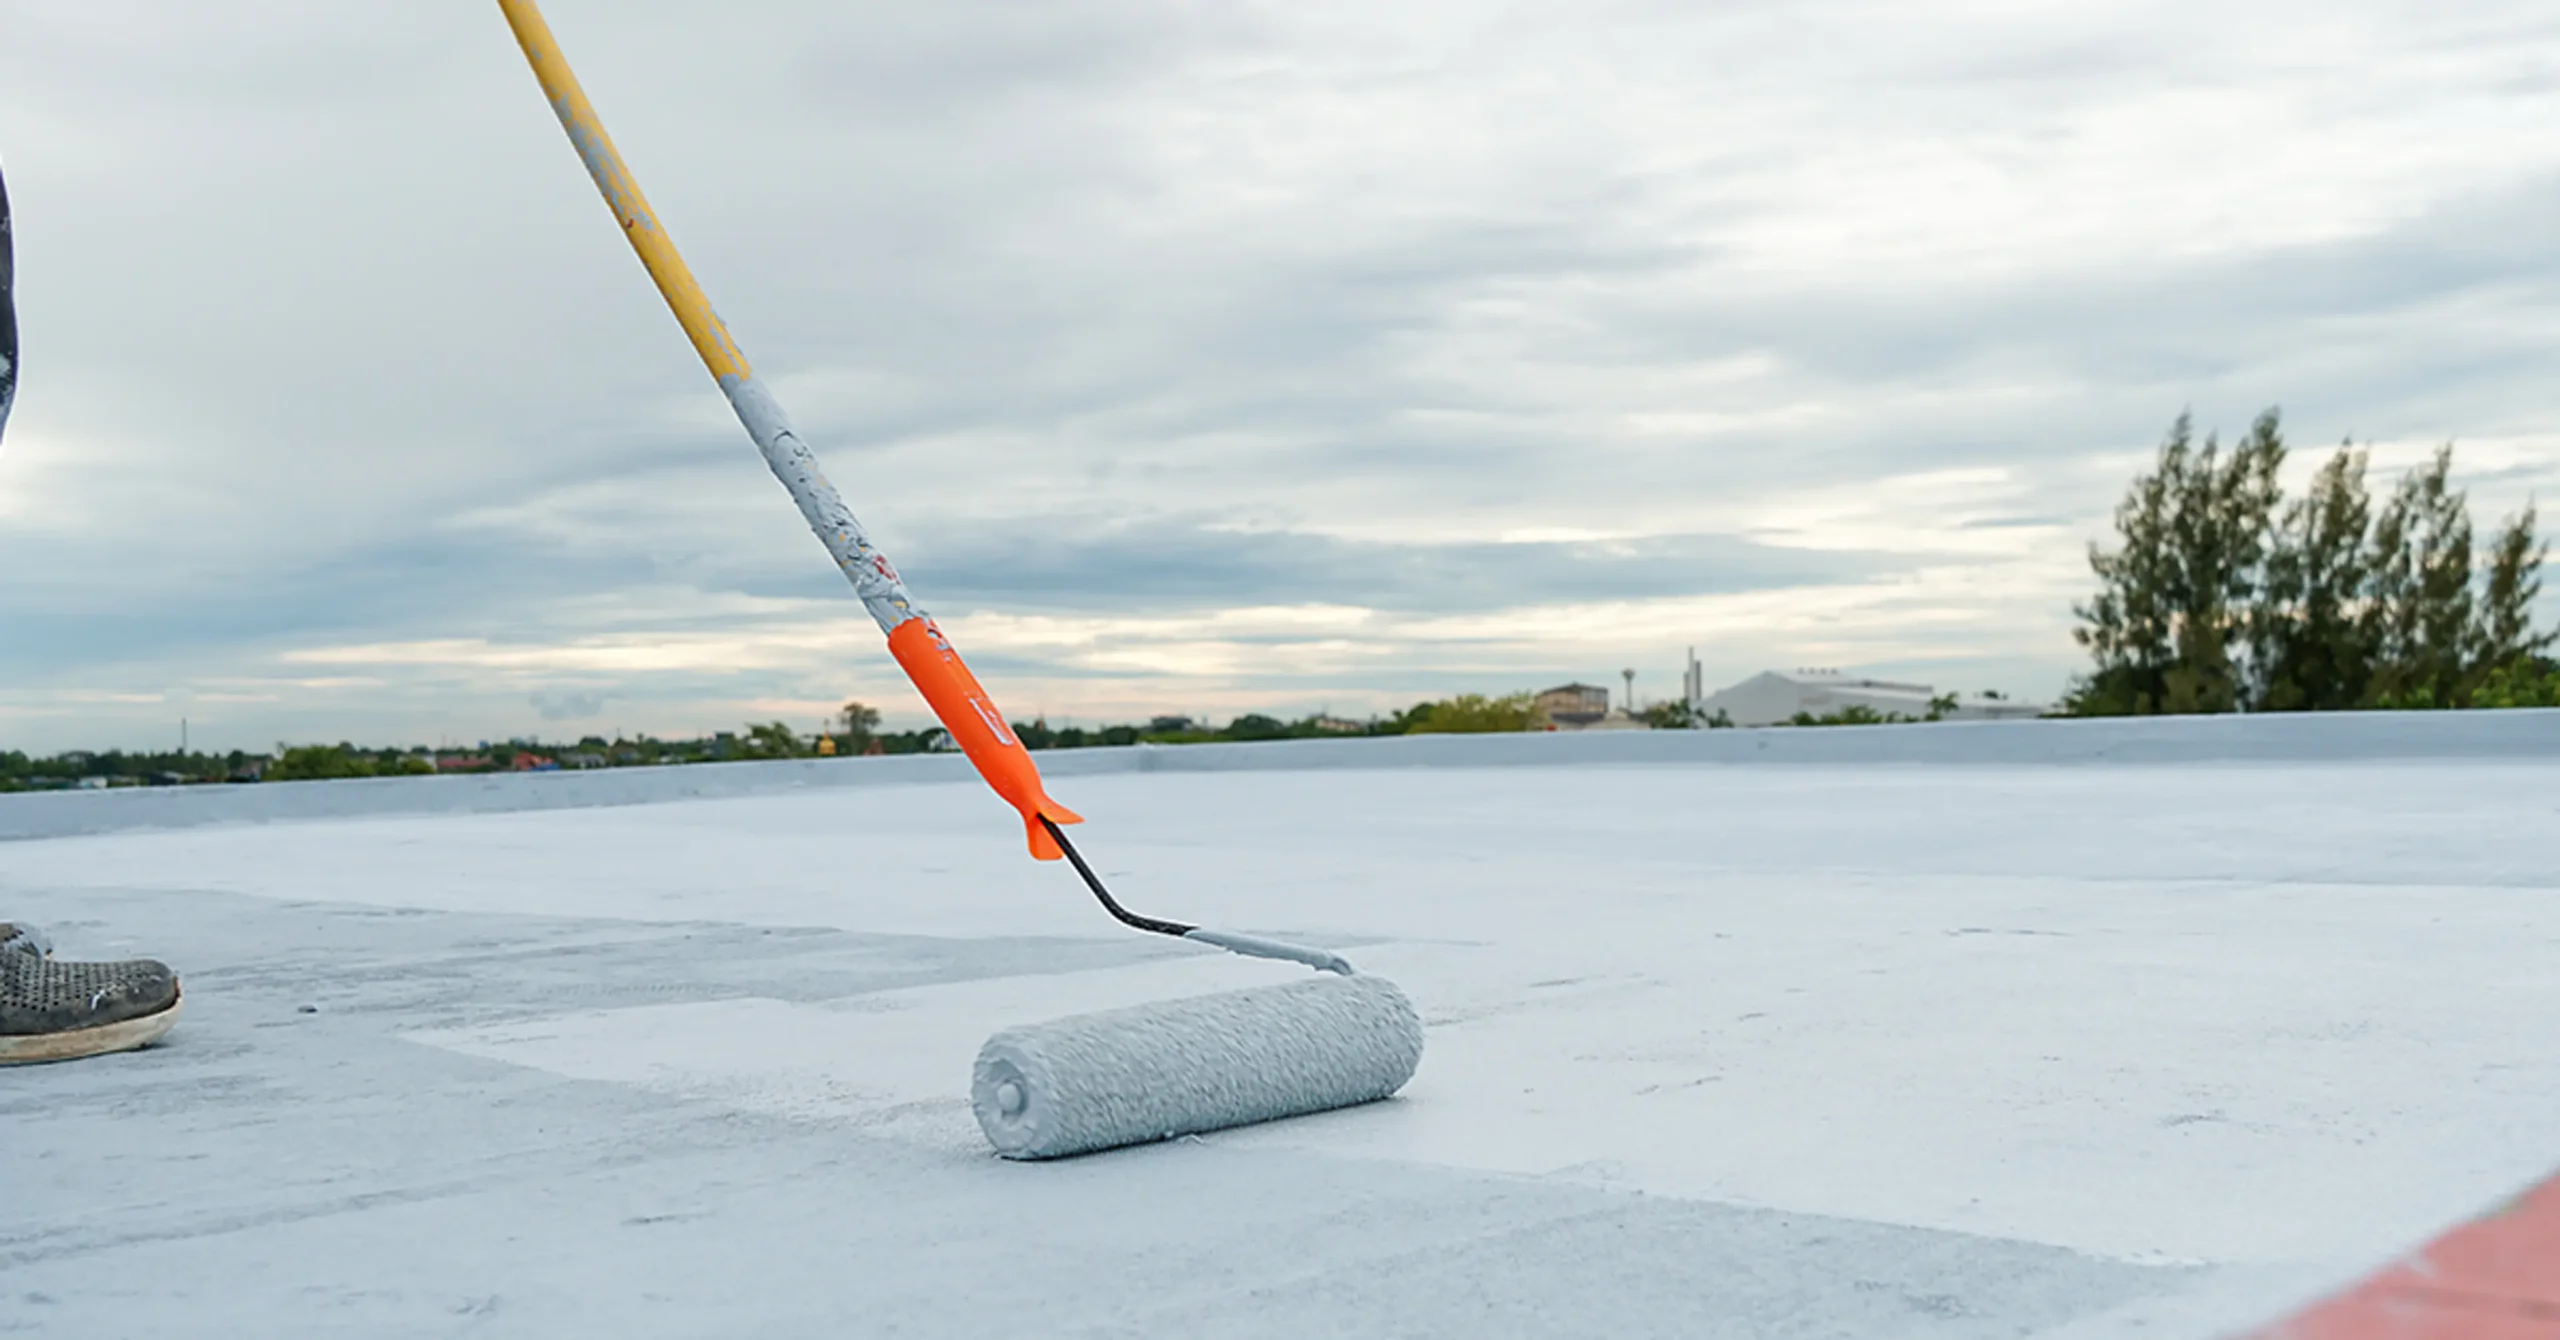
Every monsoon season, countless Indian homeowners discover ceiling leaks, damp patches, and peeling paint that could have been avoided with proper preparation. This roof waterproofing guide walks you through exactly what you need to know to protect your terrace before the rains begin.
Unlike general roof maintenance, waterproofing specifically targets creating a watertight barrier that prevents moisture penetration, even during heavy, sustained rainfall common across Indian cities.
This detailed roof waterproofing guide covers the materials, methods, and costs involved, so you can choose the right approach for your home and budget.
Let’s break down everything you need to know.
1. Understand Why Waterproofing Matters
Before diving into methods, it helps to understand what waterproofing actually protects against.
- Prevents water seepage into ceilings and walls
- Protects the concrete structure from long-term deterioration
- Reduces the risk of mold, mildew, and dampness indoors
- Extends the overall lifespan of your roof and terrace
Example: A homeowner in Kochi spent ₹15,000 on proper terrace waterproofing and avoided an estimated ₹80,000 in structural repairs that a neighbor faced after years of untreated seepage.
(Internal link suggestion: Link to “How to Extend the Life of Your Roof With Simple Care”)
2. Choose the Right Waterproofing Method
Different waterproofing methods suit different roof types and budgets, making this a key section of any roof waterproofing guide.
Common Methods:
- Cementitious waterproofing – affordable and easy to apply, ideal for basic terraces
- Liquid membrane waterproofing – flexible and highly effective for crack-prone areas
- Bituminous waterproofing – durable and widely used for flat roofs
- Polyurethane (PU) coating – excellent flexibility and UV resistance for exposed terraces
Each method offers different durability and cost trade-offs, so choosing the right one depends on your roof’s condition and climate exposure.
3. Prepare the Roof Surface Properly
Surface preparation significantly impacts how well waterproofing treatments perform and last.
- Clean the entire roof surface to remove dust, debris, and loose material
- Repair any existing cracks with waterproof filler before treatment
- Ensure the surface is completely dry before applying any coating
- Remove old, flaking waterproofing layers if present
Tip: Skipping proper surface preparation is one of the most common reasons waterproofing treatments fail prematurely, even with quality materials.
(Internal link suggestion: Link to “Common Waterproofing Mistakes Homeowners Make”)
4. Apply Waterproofing in the Right Season
Timing plays a crucial role in how effectively waterproofing treatments cure and bond to the surface.
- Apply waterproofing during dry summer months, ideally April or May
- Avoid application during high humidity or expected rainfall
- Allow adequate curing time, typically 24-72 hours depending on the product
- Check weather forecasts before scheduling waterproofing work
Applying waterproofing too close to monsoon season risks incomplete curing, reducing overall effectiveness.
5. Focus on Critical Vulnerable Areas
Certain areas of the roof are more prone to leaks and require extra attention during waterproofing.
- Roof-wall junctions, where cracks commonly develop
- Around chimneys, vents, and any roof penetrations
- Parapet walls and their joints with the terrace floor
- Drainage outlets and areas where water tends to pool
Focusing extra care on these vulnerable zones significantly reduces the risk of leaks even in a well-waterproofed roof.
6. Consider Proper Slope and Drainage
Waterproofing works best alongside proper water drainage, preventing prolonged water contact with the roof surface.
- Ensure the terrace has adequate slope toward drainage outlets
- Clear drain pipes and outlets regularly to prevent blockages
- Add additional drainage points if water pooling is a recurring issue
- Avoid flat, stagnant areas that trap water for extended periods
Good drainage design complements waterproofing treatments, extending their effectiveness and reducing wear over time.
7. Understand Waterproofing Costs and Longevity
Budgeting appropriately ensures you choose a solution that balances cost with long-term durability.
- Basic cementitious waterproofing typically costs less but lasts fewer years
- PU and liquid membrane coatings cost more upfront but offer longer-lasting protection
- Factor in labor costs, which vary based on roof size and accessibility
- Consider warranty periods offered by contractors for added peace of mind
Tip: While cheaper waterproofing options save money initially, investing in higher-quality materials often proves more cost-effective over a 5-10 year period.
(Internal link suggestion: Link to “How to Plan a Full Home Renovation Without Overspending”)
8. Schedule Regular Maintenance and Reapplication
Waterproofing isn’t a one-time task—it requires periodic attention to remain effective.
- Inspect waterproofed areas annually for cracks or wear
- Reapply waterproofing coatings every 2-5 years depending on material used
- Address any new cracks immediately to prevent water infiltration
- Keep the terrace clean and free of standing water year-round
Consistent maintenance ensures your roof waterproofing guide efforts continue protecting your home for years beyond the initial application.
Frequently Asked Questions
1. What is the best waterproofing method for Indian terraces? PU coatings and liquid membrane waterproofing offer excellent durability and flexibility, making them popular choices for monsoon-prone regions.
2. How long does roof waterproofing typically last? Depending on the material used, waterproofing typically lasts between 2-10 years, with PU coatings generally lasting longer than basic cementitious options.
3. When is the best time to waterproof a roof before monsoon? April or May is ideal, allowing sufficient dry weather for proper curing before monsoon rains begin.
4. How much does roof waterproofing cost in India? Costs vary based on method and roof size, ranging from basic cementitious solutions to more expensive PU or membrane-based treatments.
5. Can I waterproof my roof myself, or should I hire professionals? While basic cementitious waterproofing can be DIY, professional application is recommended for membrane and PU coatings to ensure proper results.
6. What are common signs that waterproofing needs to be redone? Visible cracks, water stains on ceilings, peeling paint, and damp patches indicate that waterproofing has failed and needs reapplication.
Conclusion
Following this roof waterproofing guide ensures your home stays protected through even the heaviest monsoon rains. From choosing the right method and preparing the surface properly to focusing on vulnerable areas and scheduling regular maintenance, each step contributes to a truly monsoon-proof home.
Don’t wait until the first heavy rain reveals a leak—start planning your terrace waterproofing this season. A well-executed waterproofing job today means years of worry-free protection for your home.